Just show me the water-cooled PCs
Water cooling a personal computer begins with a perfectly reasonable goal—keeping it cool—and reaches that goal by putting liquid beside every expensive component. It costs more, takes longer, and creates maintenance where none previously existed. The performance gains are often small enough that the sensible alternative is to buy better hardware and attach a good air cooler.
This has not stopped me from building two of them.
Custom water cooling is a hobby for enthusiasts: people who want the machine to look a particular way, people who enjoy building as much as using, and people who are not afraid to throw money directly into the fire.

The finished computer can be quieter. It can keep powerful components at lower temperatures for longer periods. It can provide more room for overclocking. It can also look spectacular. None of those benefits make it the financially responsible choice for most personal computers. That is not really the point.
What the water is actually doing
A water block sits directly on a hot component such as the CPU or GPU. Coolant moves through that block, absorbs heat, and carries it to one or more radiators. Fans push room air through the radiators, the heat enters the room, and the cooled liquid returns to do it again.
The important part is that a desktop loop does not destroy heat. It moves heat from a very small, very hot surface to a much larger radiator. The room still receives roughly the same heat produced by the computer. If the room becomes hot, the air conditioner still has to remove it. My impressive network of tubes has not defeated thermodynamics. It has decorated it.
More radiator area can let the fans turn more slowly, which is where much of the noise benefit comes from. The pump adds its own hum, and a badly planned loop can still be loud, but a generous amount of radiator can cool high-power hardware without making nine fans sound like they are preparing for takeoff.
Where the plumbing becomes sensible
At the scale of a data center or high-performance computing facility, the calculation changes. Hundreds or thousands of machines place enormous heat loads into a limited space. Moving that heat through room air requires powerful server fans, air handlers, ducts, and often compressor-driven chillers.
Direct liquid cooling can collect heat at the chips and carry it through a closed loop to a coolant distribution unit. A heat exchanger then passes that heat into a facility loop. From there, it can go to an outdoor dry cooler, a cooling tower, or—when the temperatures and building design cooperate—a heating system that reuses some of it.
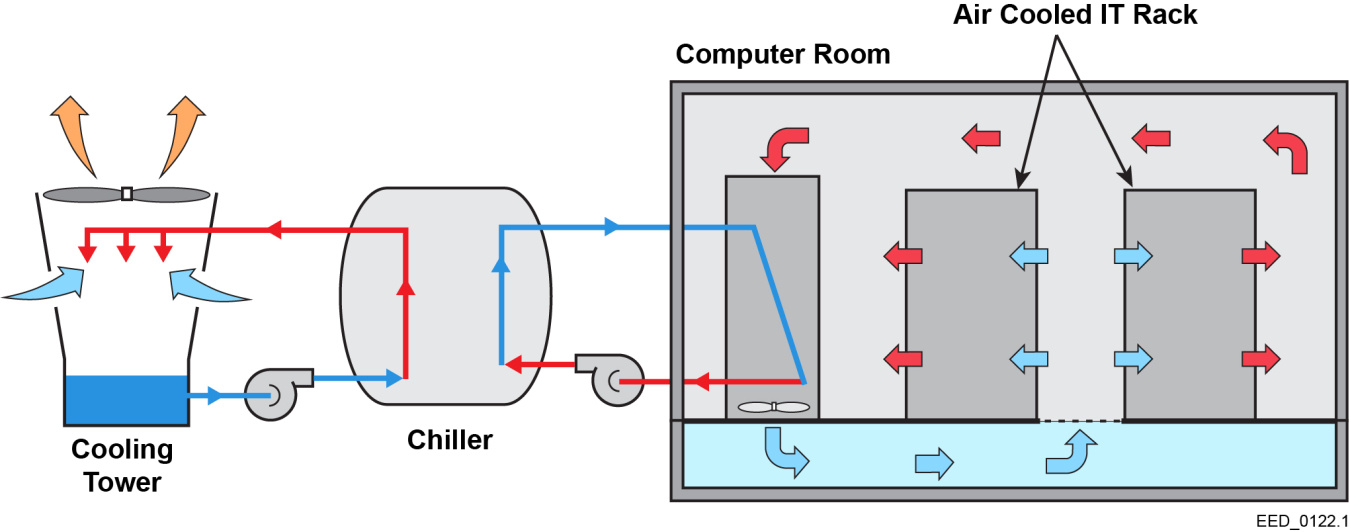
Water carries heat far more effectively than air, and warm-water systems can make an even larger difference. If the returning water is hotter than the outdoor air, a dry cooler may be able to reject that heat without refrigerating the water first. That means less work for energy-hungry chillers and fewer tiny server fans fighting a hurricane inside every rack.
The National Laboratory of the Rockies built a useful real-world example. Its high-performance computing facility uses component-level warm-water cooling, captures the computer heat in a recovery loop, and can use that heat elsewhere in the building before sending the remainder outdoors. The facility was designed to operate without compressor-based cooling for the data center.
That is water cooling as infrastructure: dense equipment, constant workloads, planned heat recovery, and operating savings repeated across a whole facility. My desktop is water cooling as a hobby. It moves the heat approximately three feet away and gives it to the same room I am sitting in.
Sources: U.S. Department of Energy: data-center cooling, National Laboratory of the Rockies: warm-water liquid cooling, and ASHRAE: liquid cooling and dry coolers.
The cumbersome steps to water cooling a PC, all of which you can skip
Building an ordinary PC is mostly a question of whether the parts connect. Building a custom loop is also a question of whether they fit, whether they seal, whether the pump can be filled, whether the trapped air can escape, and whether the entire machine can eventually be drained without turning the desk upside down.
The process looks something like this, assuming common sense has already failed to intervene:
- Decide what the build is for. Choose the hardware, decide whether the loop will cool the CPU, GPU, or both, and set a budget that you will later pretend was only a rough suggestion.
- Estimate the heat. Look at the realistic power draw of the CPU and GPU, then choose enough radiator area to dissipate it at the noise level you can tolerate. More radiator usually buys lower fan speeds and more thermal headroom.
- Plan the case around the cooling system. Check radiator length and thickness, fan clearance, motherboard clearance, GPU length, reservoir height, pump location, and where the fittings will protrude. A case can be enormous and still be one fitting short of useful.
- Choose the loop parts. Water blocks, radiators, fans, pump, reservoir, coolant, tubing, fittings, temperature sensors, and ideally a drain valve. Every tube dimension must match its fittings. Mixing incompatible metals or coolants can create corrosion or deposits, so material compatibility matters too.
- Disassemble expensive hardware. Installing a full-cover GPU block means removing the factory cooler, cleaning the chip, placing thermal pads, and tightening a new block onto a graphics card that was working perfectly ten minutes earlier.
- Dry-fit everything. Mount the radiators, fans, pump, reservoir, blocks, and fittings before committing to the tube runs. Plan a fill point near the top and a drain point near the bottom. Gravity will be involved later, whether it was invited or not.
- Measure and route the tubing. Soft tubing bends around obstacles and is forgiving. Hard acrylic or PMMA tubing must be measured, cut, deburred, heated, bent, cooled, checked, and often thrown into a growing pile of almost-correct attempts.
- Fill and leak-test the loop. Run only the pump while the rest of the computer is unpowered. Inspect every fitting and place paper towels around likely failure points. Manufacturers commonly recommend a long leak test; twenty-four hours is a typical instruction, which is an impressively long time to stare at a dry paper towel.
- Bleed the air. Top up the reservoir, run the pump, stop it, tilt the case, listen to bubbles travel through radiators, repeat, and discover how heavy the computer has become.
- Tune and test. Set pump and fan curves, watch coolant and component temperatures, establish a performance baseline, and stress-test any overclock instead of declaring victory because the computer reached the desktop once.
- Maintain it. Inspect the fittings and coolant, remove dust from the radiators, and eventually drain, flush, clean, and refill the loop.
This is not a weekend shortcut to a faster computer. It is the weekend, plus several evenings, plus one more order because the smallest missing part always waits until midnight to become important.
A menu of ways to make it harder
Soft tubing is easier to route, less expensive, and kinder to a first-time builder. It can kink at a tight bend, and clear PVC can discolor or turn yellow over time, especially with prolonged exposure to ultraviolet light.
Hard tubing produces the clean, architectural lines seen in show builds. It also demands more tools, more planning, and more precision. Acrylic and PMMA can look beautiful. They can also preserve every measuring mistake in a form rigid enough to display it.
Tube diameter is mostly an aesthetic choice once the tubing and fittings are compatible. The restrictive points are usually the blocks, radiators, and fittings rather than the visible tube. A wider tube can make a build look more substantial. It does not automatically make the computer colder.
Then there are colors, clear or opaque coolant, parallel or serial paths, distribution plates, flow meters, temperature probes, RGB blocks, vertical GPU mounts, and enough varieties of angled fitting to make plumbing begin to feel like jewelry.
But I still can't wear it to the grocery store.
Source: CORSAIR: hard versus soft tubing
Overclocking and other forms of self-expression
Lower temperatures can create more thermal headroom, which makes custom loops attractive to overclockers. Increase a clock multiplier, adjust voltage, run a benchmark, crash, reduce something, run it again. The process can be fun because it asks a simple question: how far can this particular piece of hardware go?
The practical gains vary. Modern components already manage their boost speeds aggressively, and extra voltage creates extra heat. An unstable overclock can produce crashes or data errors, and operating outside specifications can reduce component life or warranty coverage. If the goal is simply to finish work faster, spending the water-cooling budget on faster hardware will achieve more.
At the far end are competitive overclockers using dry ice—which is solid carbon dioxide—or liquid nitrogen at about -196°C. These are temporary experiments, not cooling systems for checking email. Condensation becomes an enemy, the coolant boils away, and the machine may exist only long enough to complete a benchmark and place a number on a leaderboard.
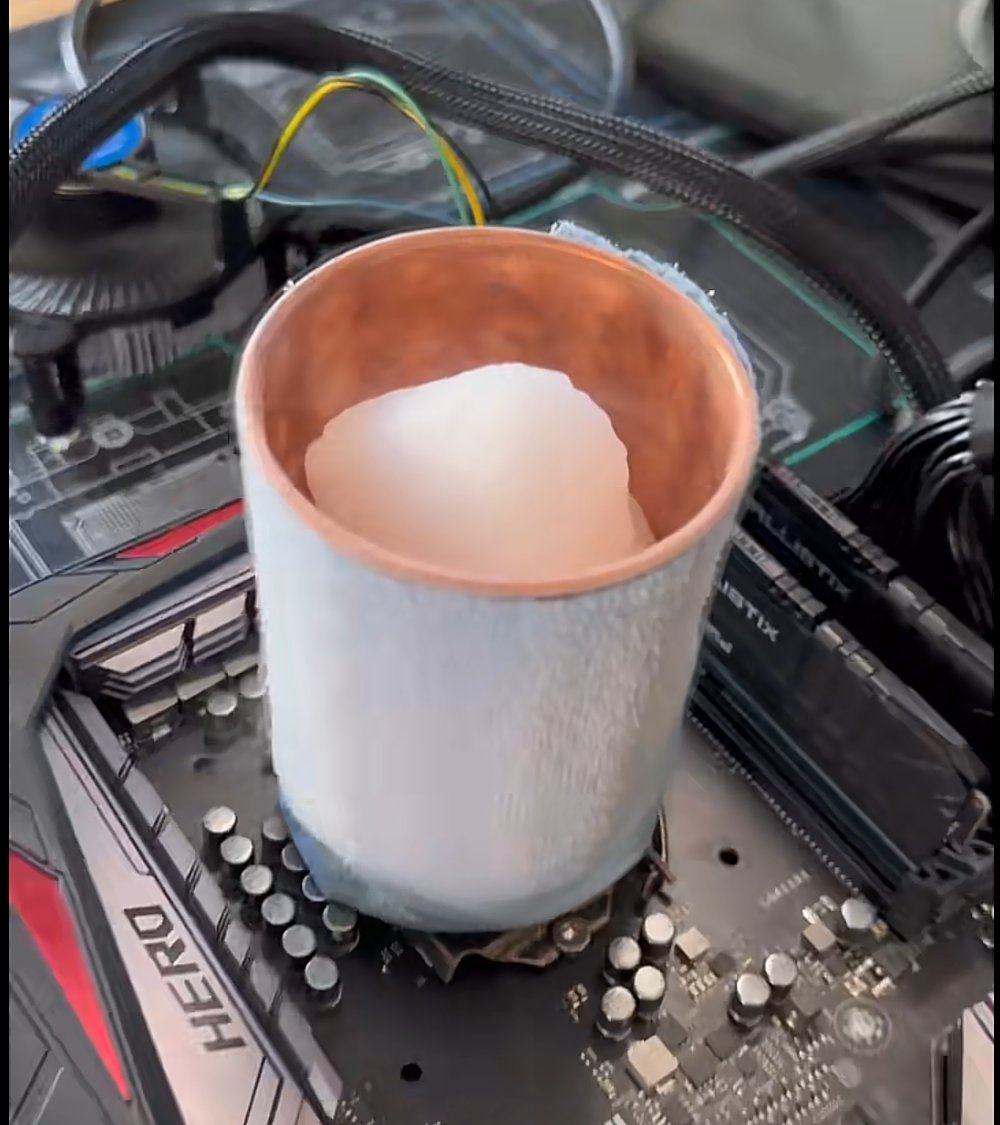
It is engineering reduced to its most entertaining form: risking an expensive object to learn exactly how unreasonable it can become.
Leaks, yellow tubes, and other signs of ownership
Water cooling adds parts that can fail: pumps, seals, fittings, reservoirs, and the human hand that forgot to tighten something. A leak can damage any powered component it reaches. That risk is why a new loop is tested with the computer electronics disconnected and why every maintenance job begins with paper towels placed beneath the area being opened.
Coolant does not remain perfect forever. Tubing can cloud or yellow. Colored coolants can leave residue. Blocks and radiators can collect deposits. Advice varies by product and loop, but annual inspection and maintenance is a cautious baseline. My own record is three years without changing the coolant, which is less a recommendation than a confession with supporting evidence.
Source: CORSAIR: custom-loop maintenance
Seven years, two computers
I have built two water-cooled PCs over seven years. Both were fun projects, and both computers are still running as well as they did when I finished them.
One of them leaked. An O-ring was broken, and coolant escaped around the connection until material in the liquid crystallized on the outside and the leak stopped. The computer survived. I would not describe this as a safety feature. It only dripped on my bottom fans - and that works for me!
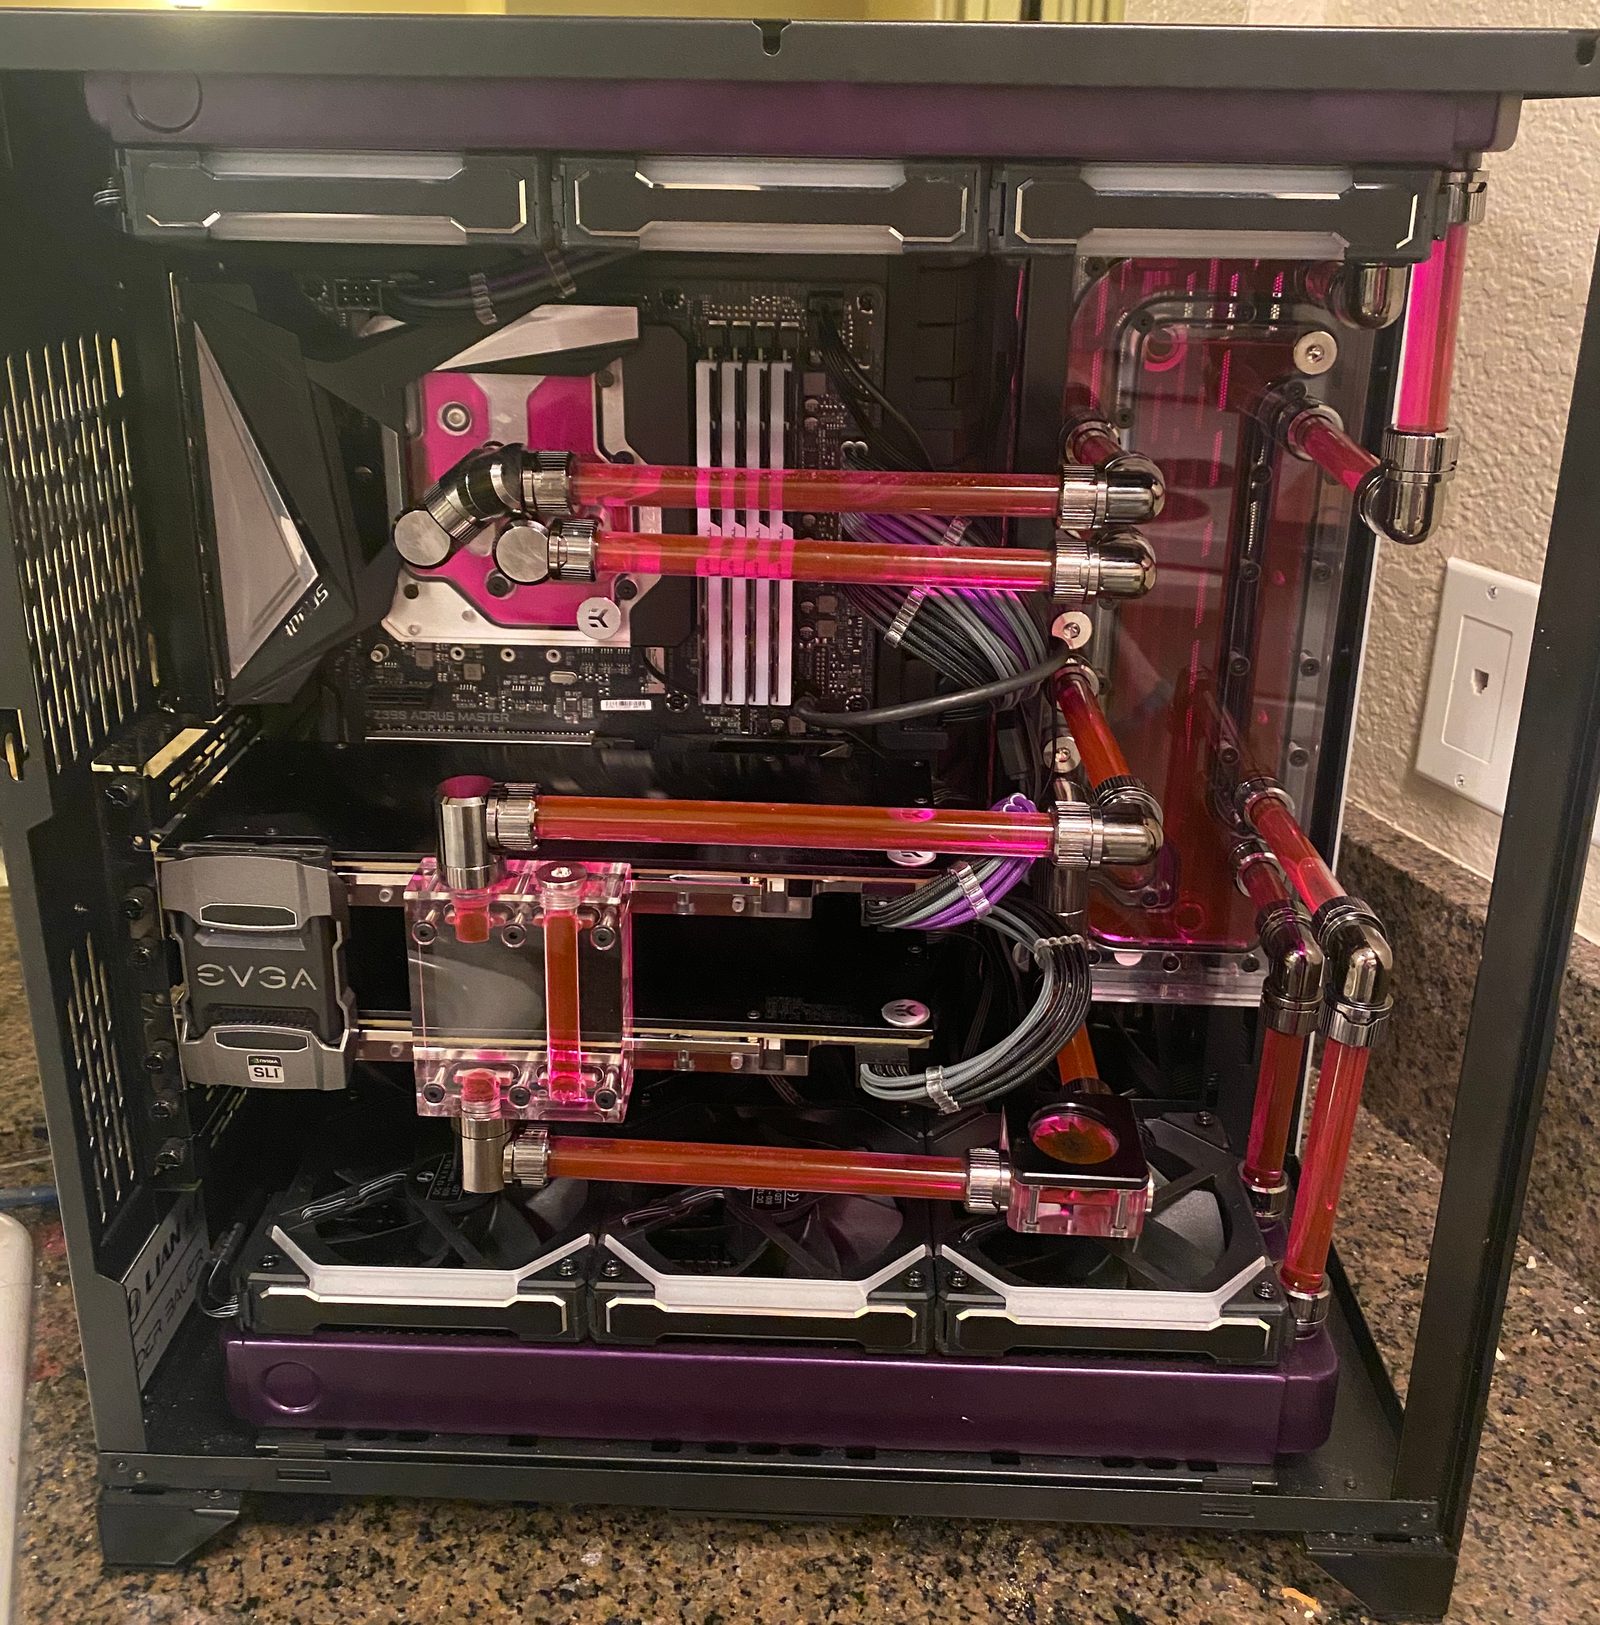
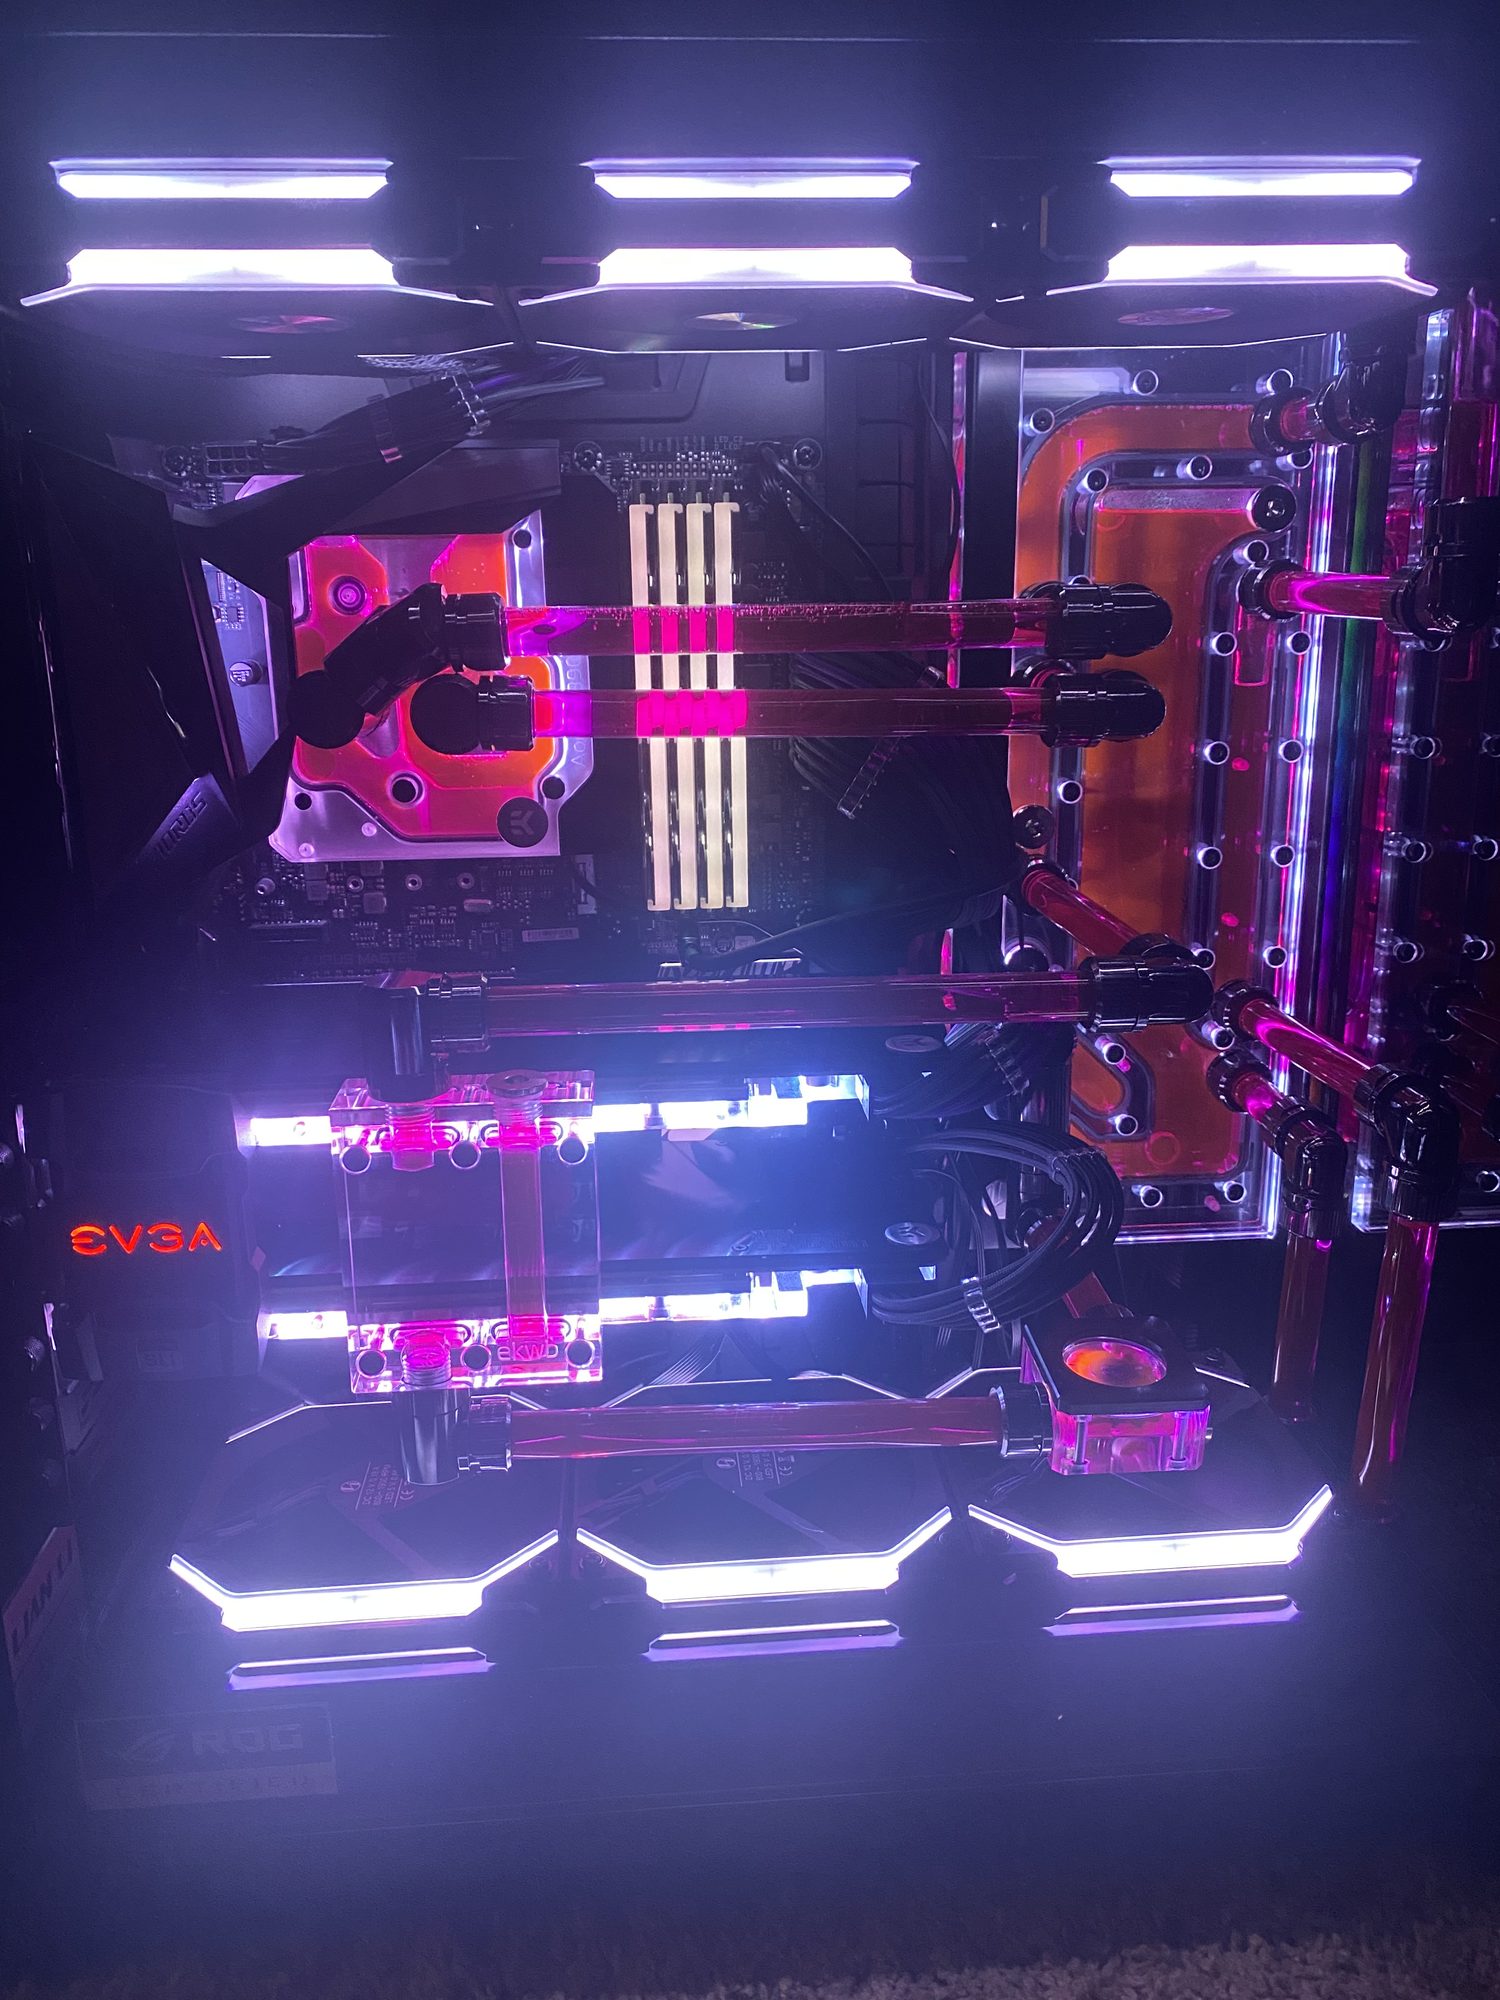
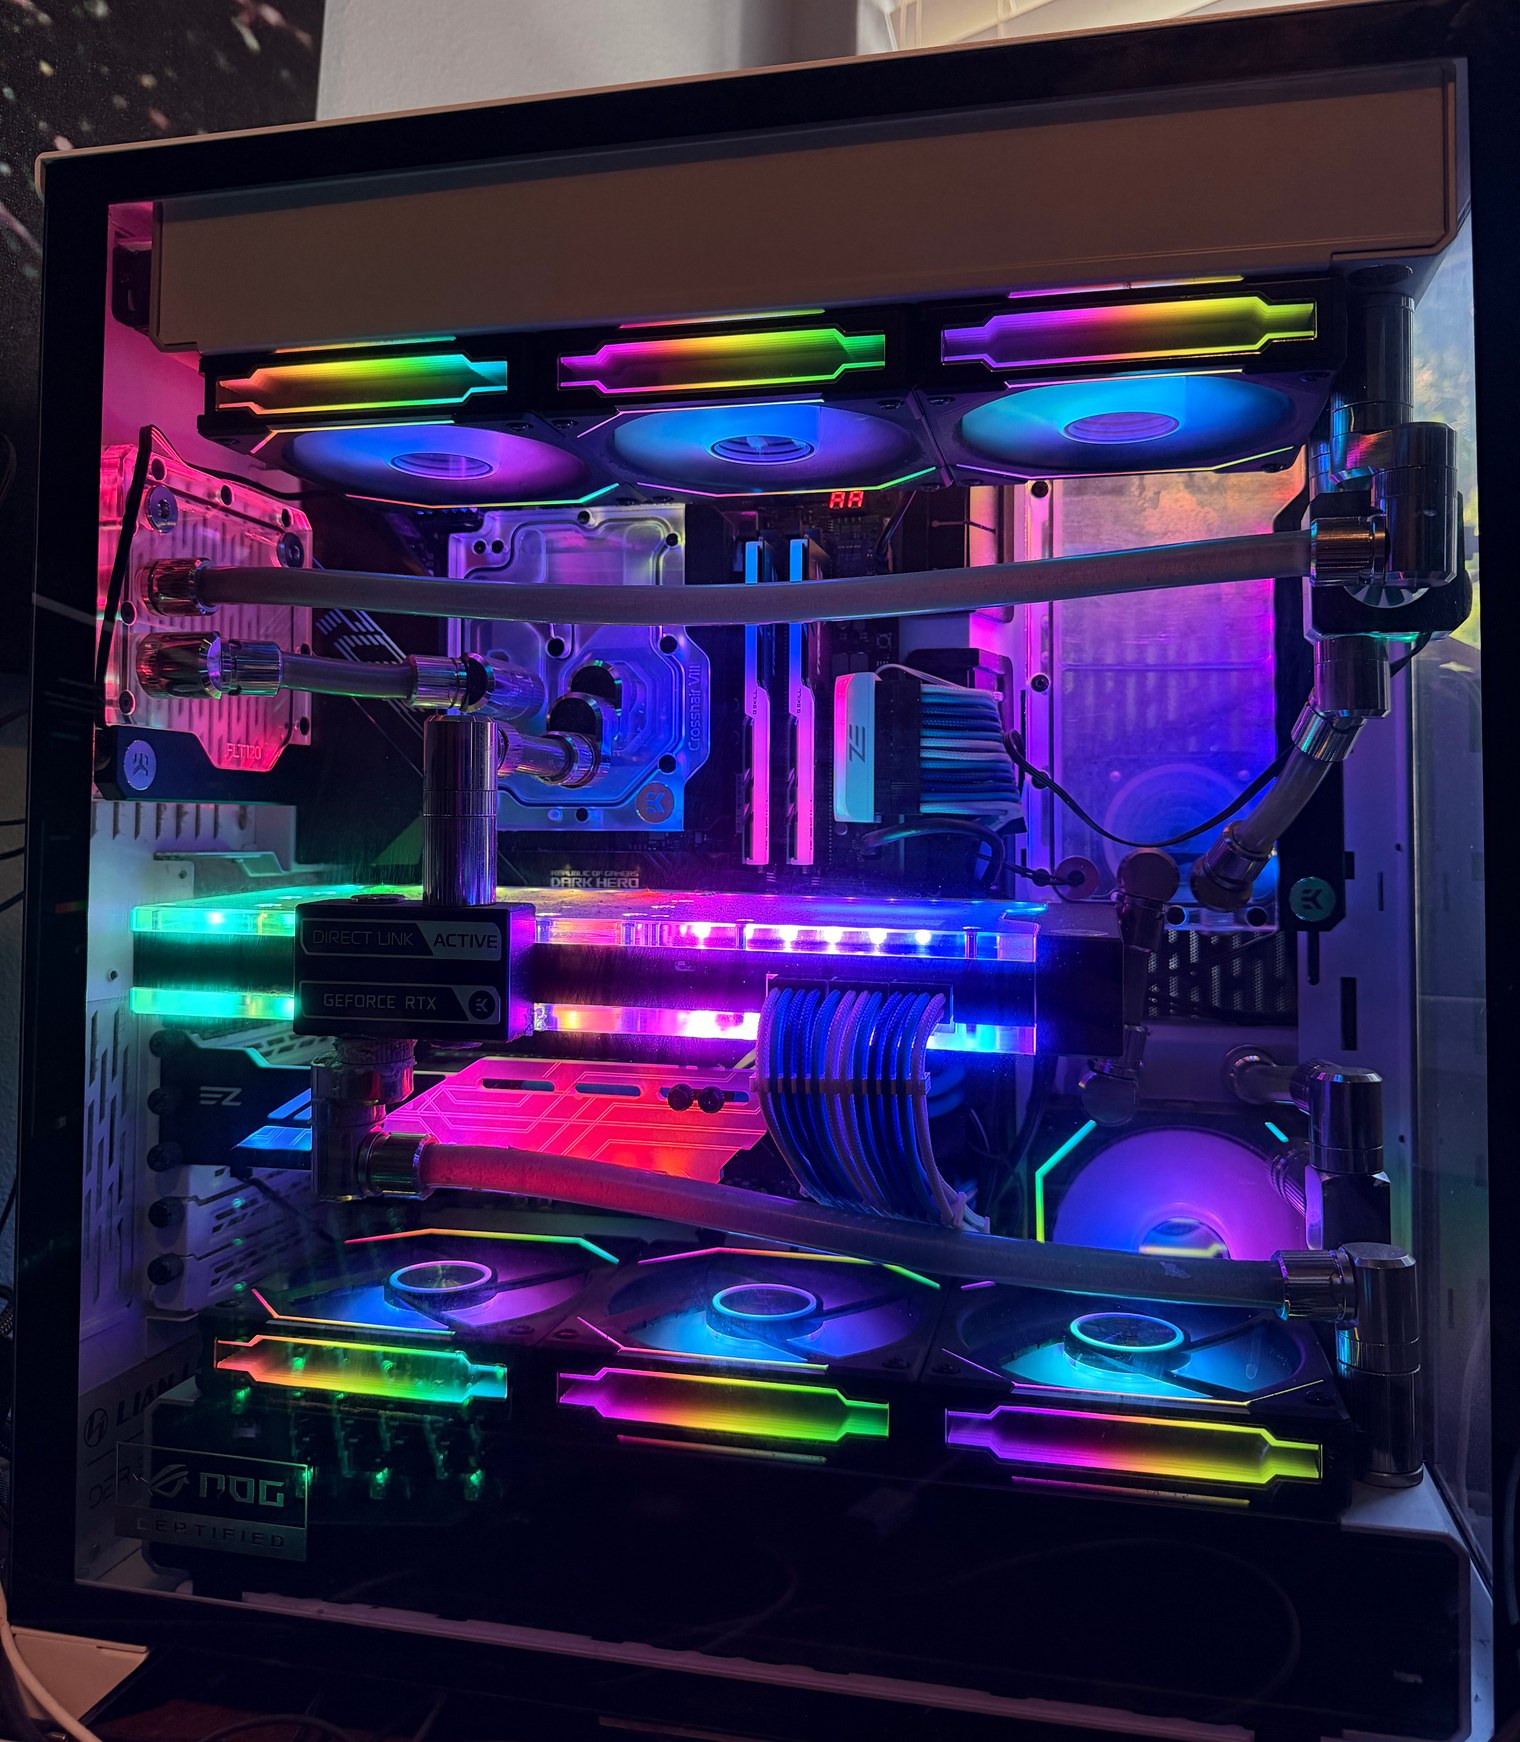
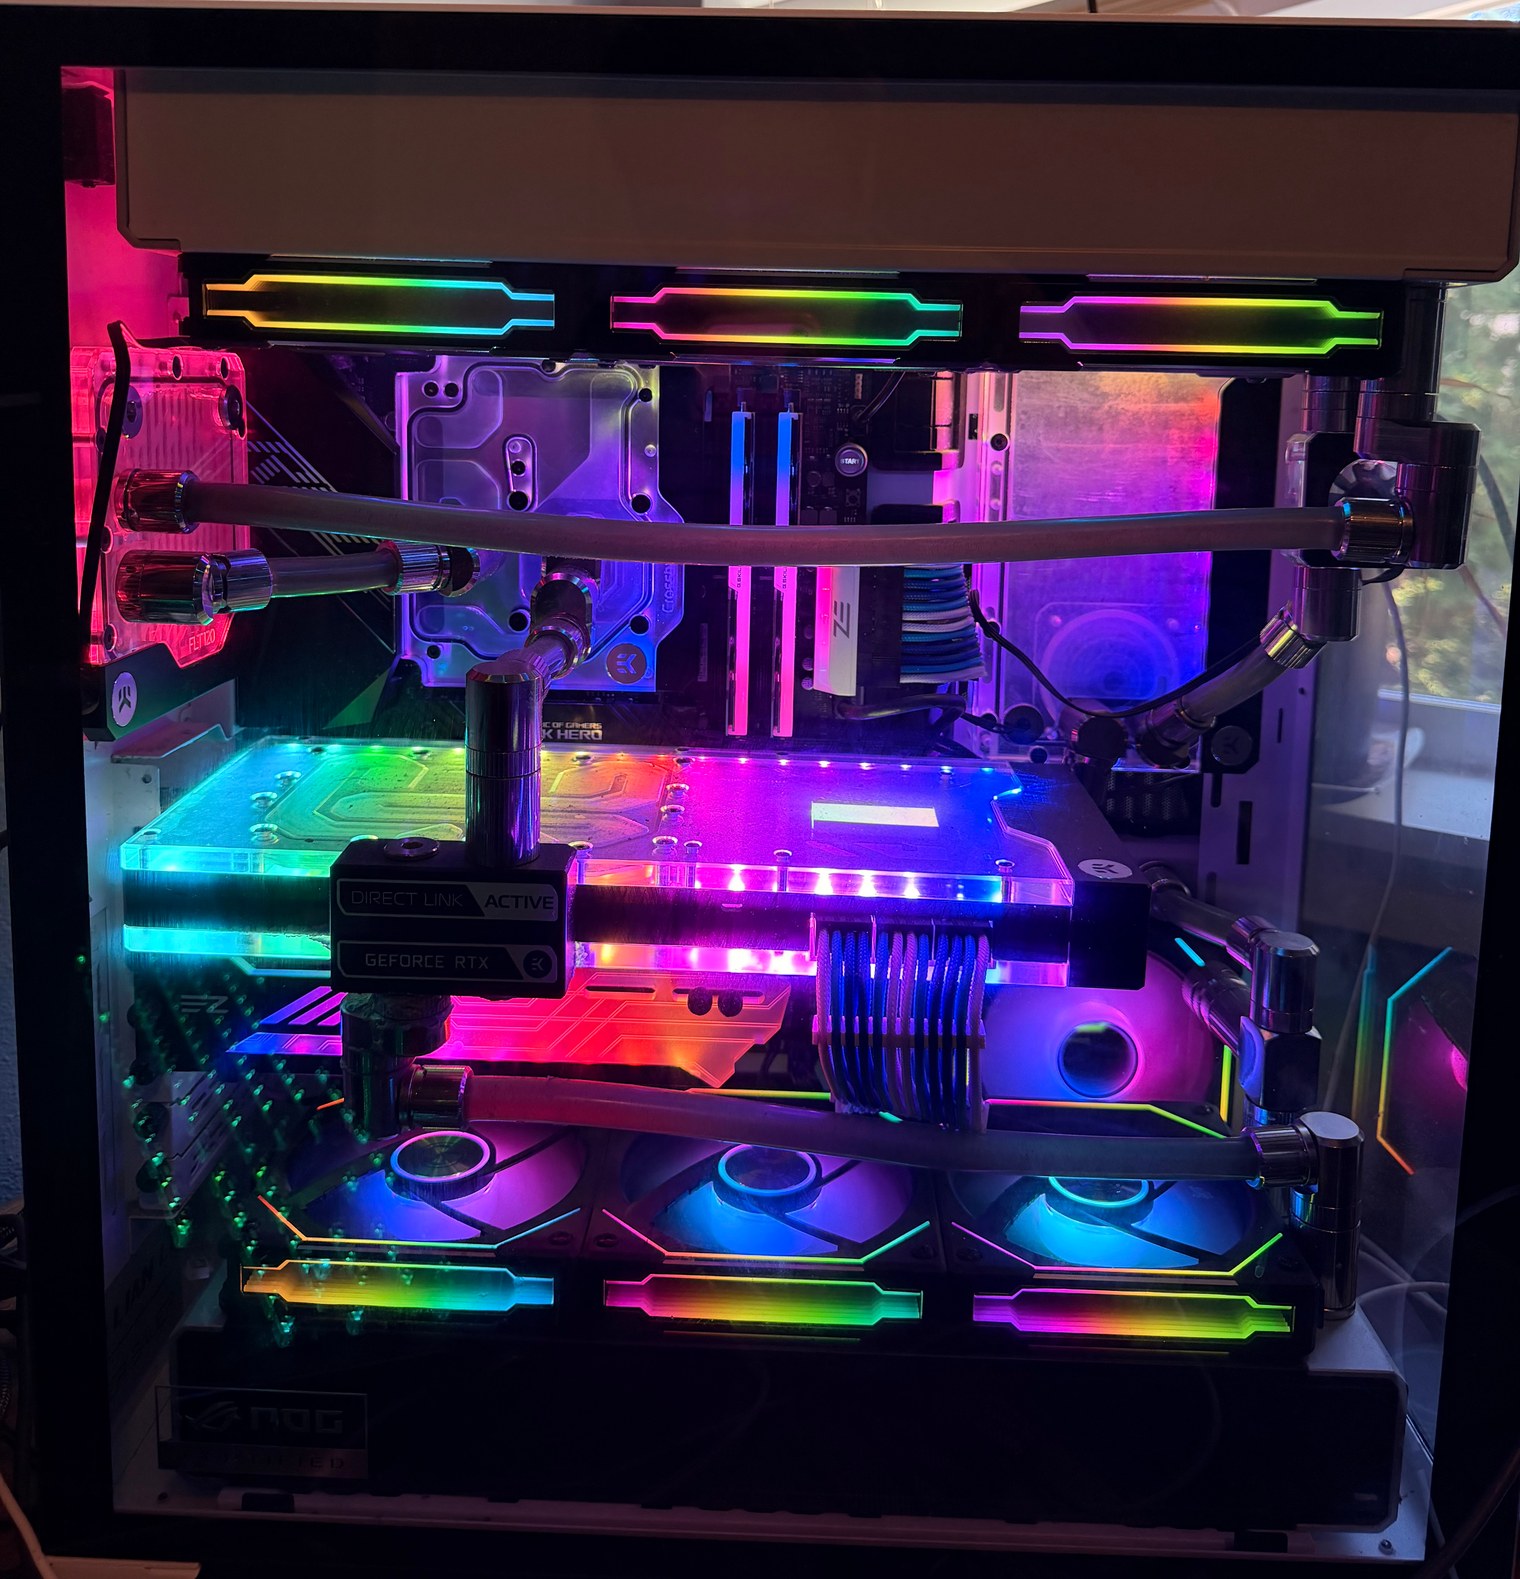
The machines have proved resourceful, fun, and a very expensive way to gain experience. That experience came from planning, measuring, ordering, disassembling, bending, filling, bleeding, testing, draining, cleaning, and rebuilding. None of it was cheap, but I enjoyed it.
Would I do it again? Yes.
Would planning it on a spreadsheet show that water cooling is a waste of money? Yes.
Is my PC cooler than yours? Yes—figuratively and literally—and that's what counts.
Want to see more water-cooled PCs? Check out r/watercooling on Reddit.